Pinhole Photography
Annotating an image
|
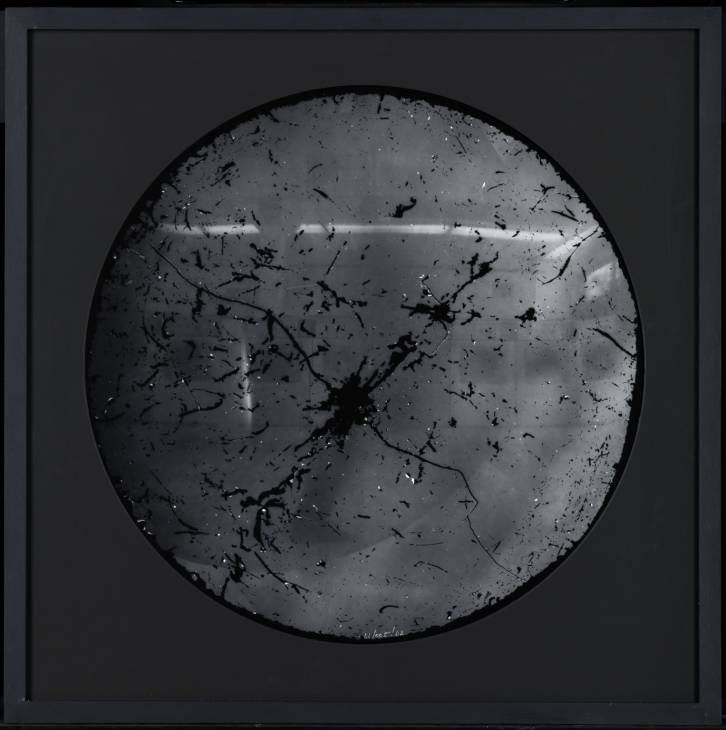
In class we were were asked to work in pairs to make notes about this image using the following questions:
| ||
My Notes
Add a typed up version of your notes here. Try to write in full sentences E.g. In this photograph I can see ...etc.
(Note: You could also add a photograph of the sheet on which you made your notes)
(Note: You could also add a photograph of the sheet on which you made your notes)
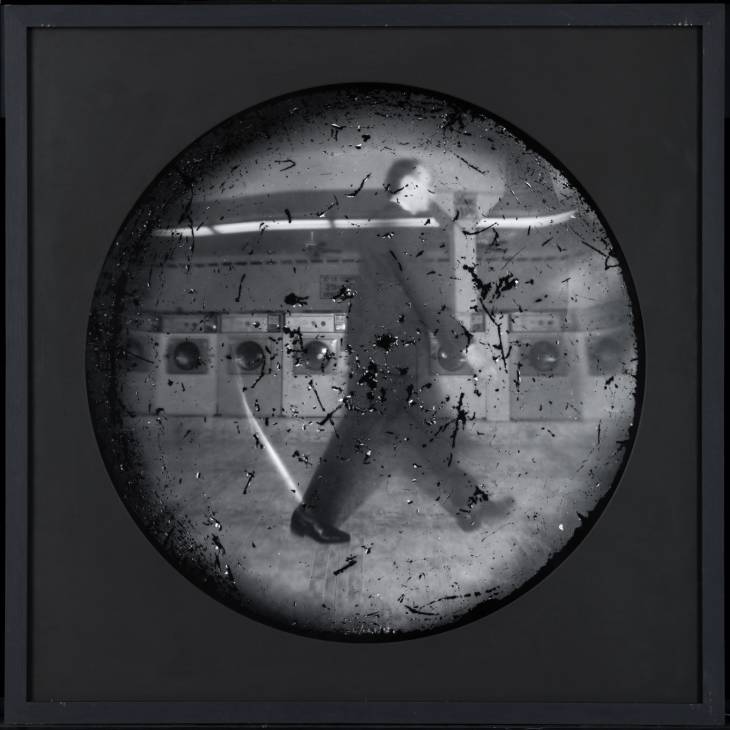
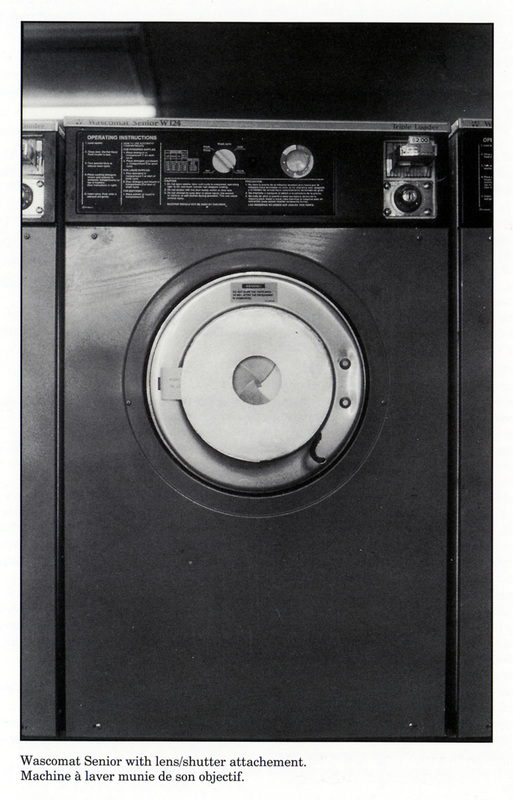
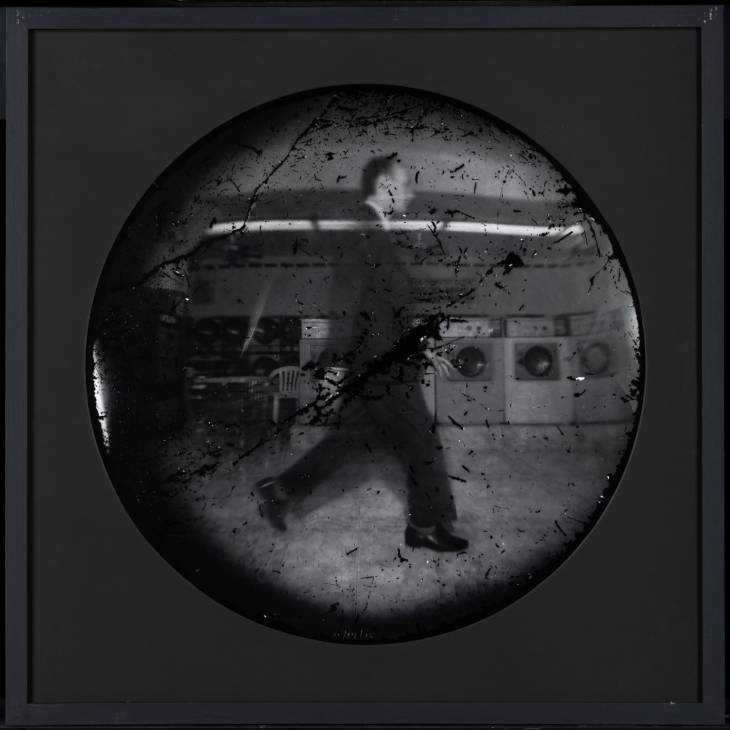
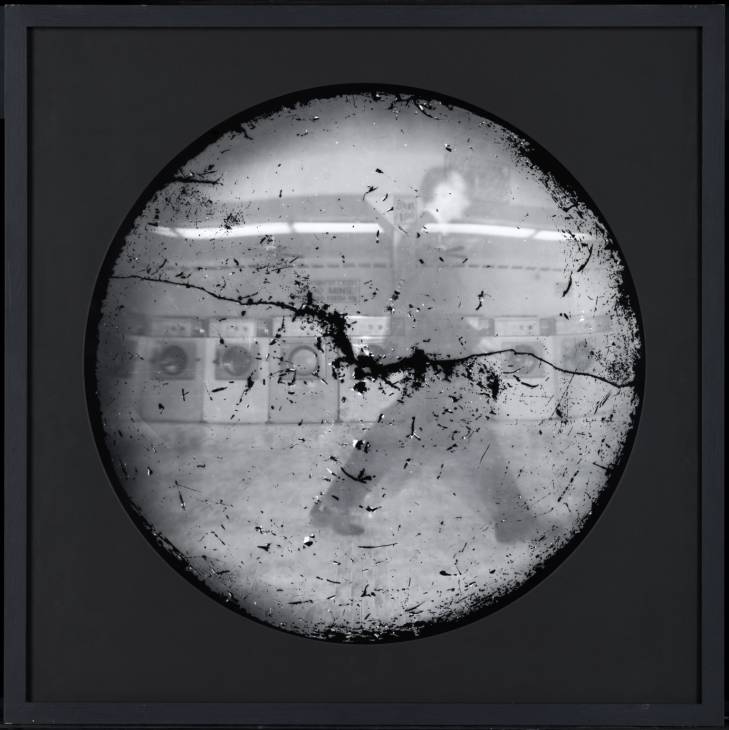
Steven Pippin Research
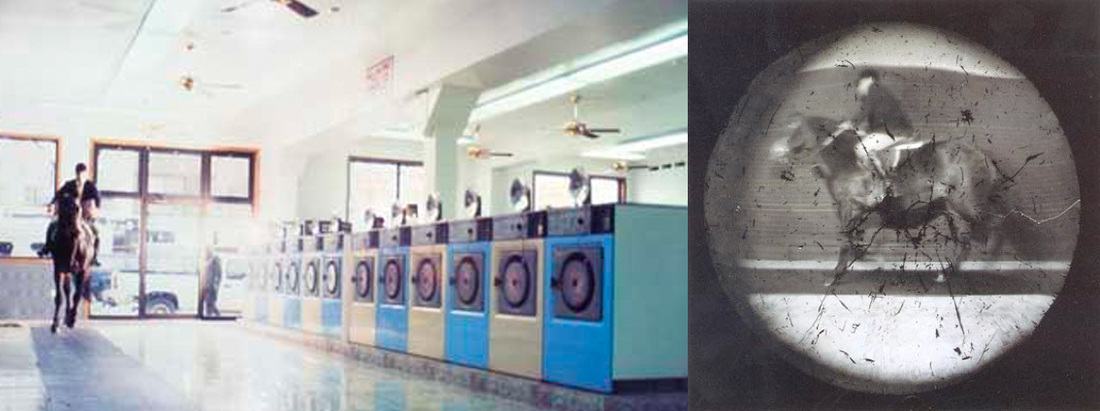
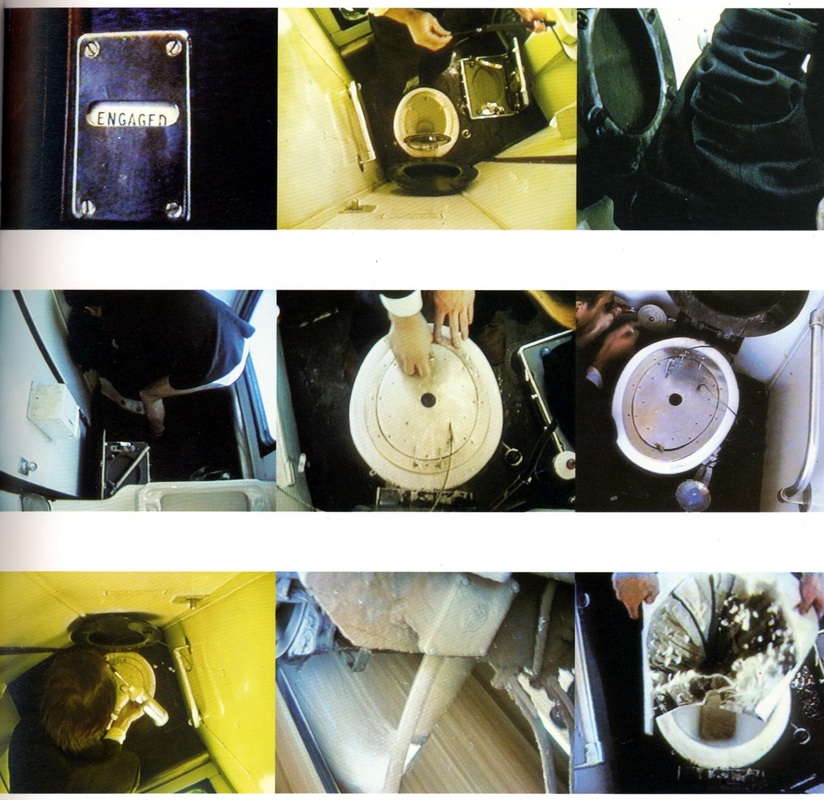
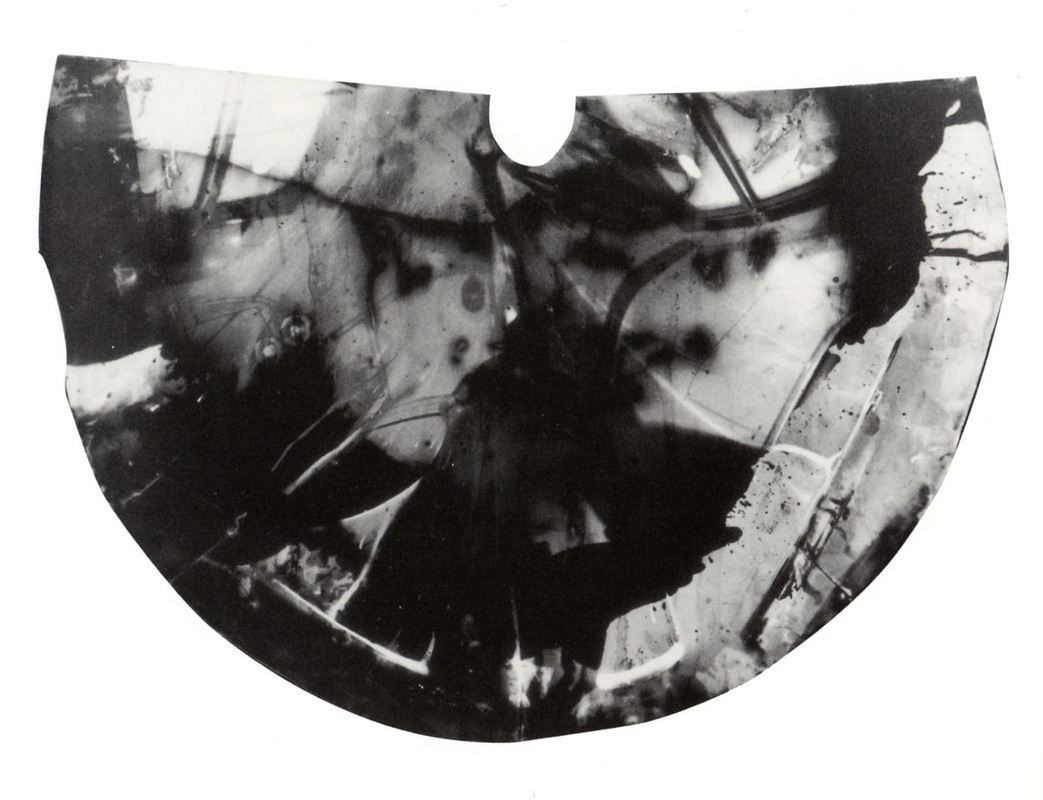
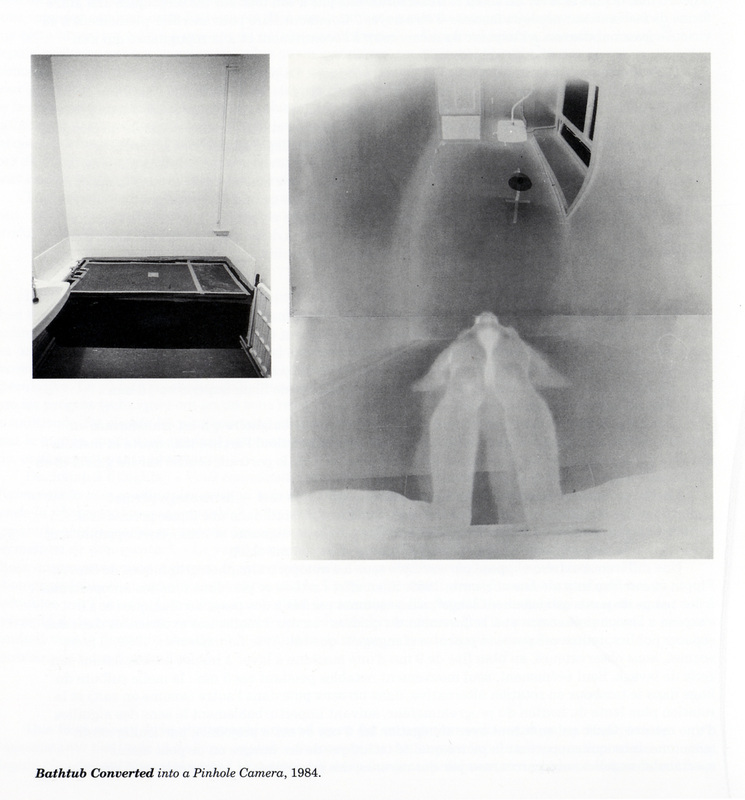
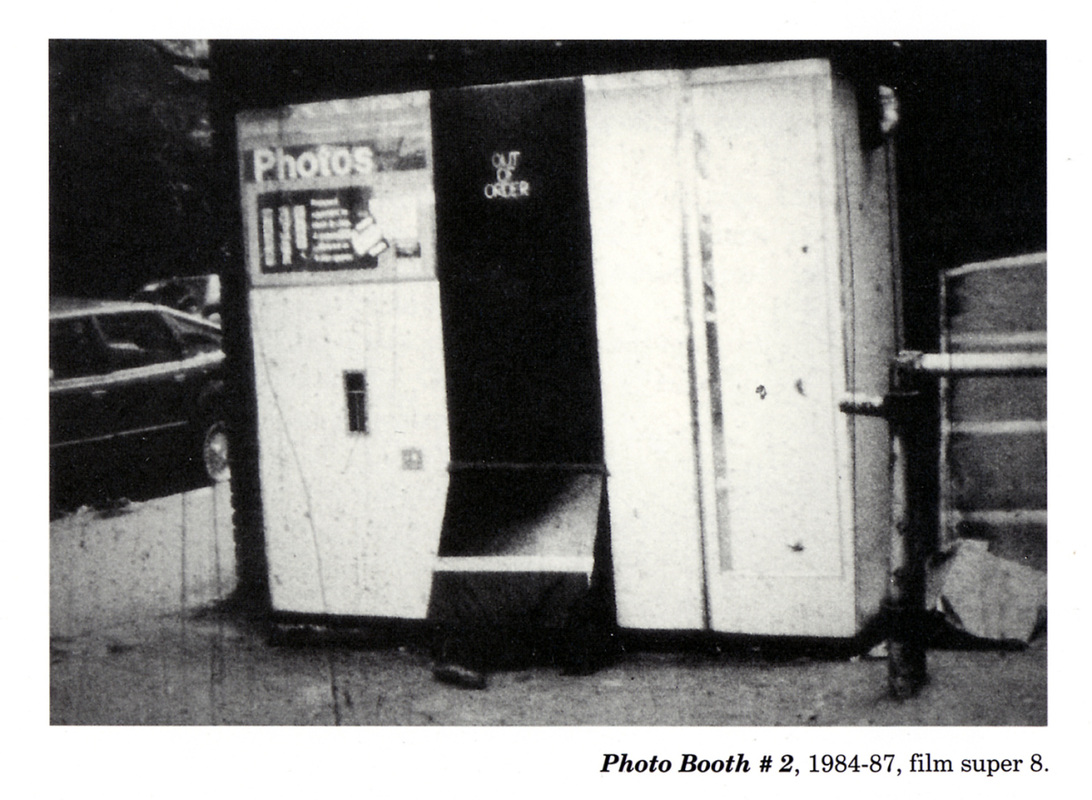
Do some research about artist Steven Pippin. What kinds of pinhole cameras has he made? Create a gallery of his images like the one below. For extra marks you could adda a caption to each photograph explaining a little bit about it.

|
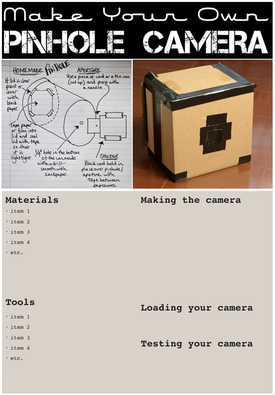
Create an Illustrated Recipe for Making a Pinhole Camera
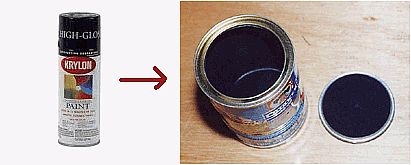
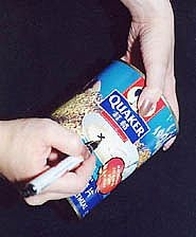
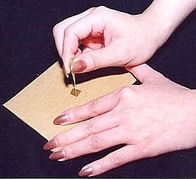
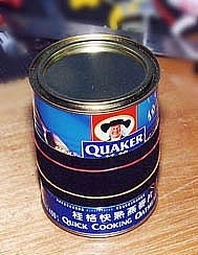
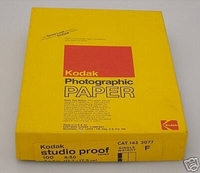
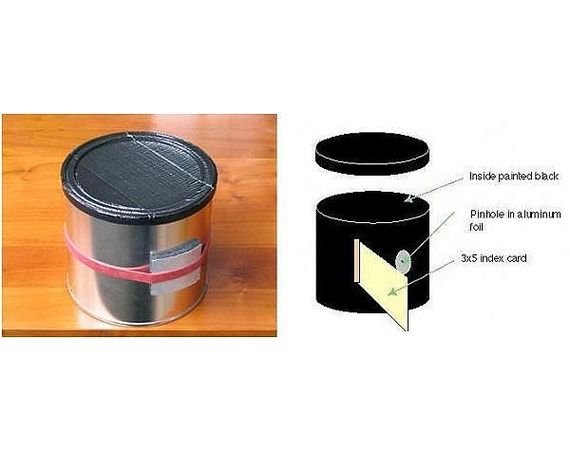
Ingredients: 1 x container (e.g. biscuit tin, chocolate powder carton etc.) 1 x sharp knife Black Gaffa/Duct tape A very thin, sharp pin Black matt paint and a brush (or black spray paint) Aluminium foil (Tinfoil) or a soft drink can A pair of scissors (optional) Step 1: Find a suitable container e.g. a cocoa tin or box. Try to ensure it has a removable lid and that the material it is made from is light proof. Step 2: Paint or spray the inside, and if necessary the outside, of the container black. This will prevent light bouncing around inside, ensuring that you get a clear image. Make sure that the lid of your container is light proof and relatively easy to remove and replace. Step 3: Cut a rectangular hole half way up the container (approx. 2 cm square) take care not to cut yourself! Step 4: Cut a 2.5 cm square piece of aluminium foil (tinfoil) and smooth it out. Use a pin to create a small hole in the centre of the tinfoil. You can also use a thin sheet of aluminium cut from a drinks can but be careful you don't cut yourself! If you're using aluminium (or even brass) sand around the pinhole making sure there are no rough edges. Step 5: Attach the tinfoil (or aluminium sheet) to the container making sure the pinhole is over the rectangular hole you already created. Step 6: Make a shutter flap out of card and/or tape that can open and close as you need it. Make sure that it completely covers the pinhole. Step 7: In the darkroom (under the red safe light) cut a piece of photographic paper to fit inside your container. Secure it in place with a small piece of tape if necessary. It should stay completely still throughout the exposure. Securely attach/replace the lid of your container and close the shutter. Step 8: Take the camera outside and find a suitable subject. Ensure that the camera is stable and can't be moved during the exposure. Open the shutter and expose the paper. Depending on the size of the pinhole and the brightness of the light your exposure can be anything from 30 seconds to 5 minutes. Make an educated guess and use your first image as a guide. Step 9: Close the shutter at the end of the exposure time and take the camera back to the darkroom. Carefully remove the paper and place it in the chemicals:
Step 10: There are two methods for creating a positive from your paper negative: In the darkroom: Make sure that your print is dry. Get a flat sheet of glass bigger than the image and another sheet of paper roughly the same size as your negative. Place the new (unexposed) piece of paper shiny side up underneath the enlarger. Place your paper negative on top of this and the glass on top of both. Select an exposure time of approx. 8 seconds. Expose the image. Remove the bottom piece of paper and develop as before. In Photoshop: Scan your paper negative. Import this scanned image into Photoshop. Select Image > Adjustments > Invert. Adjust the Levels if necessary. Rename the image and export as a jpeg. Hey presto, you should now be the proud owner of your very first pinhole print. |
| ||
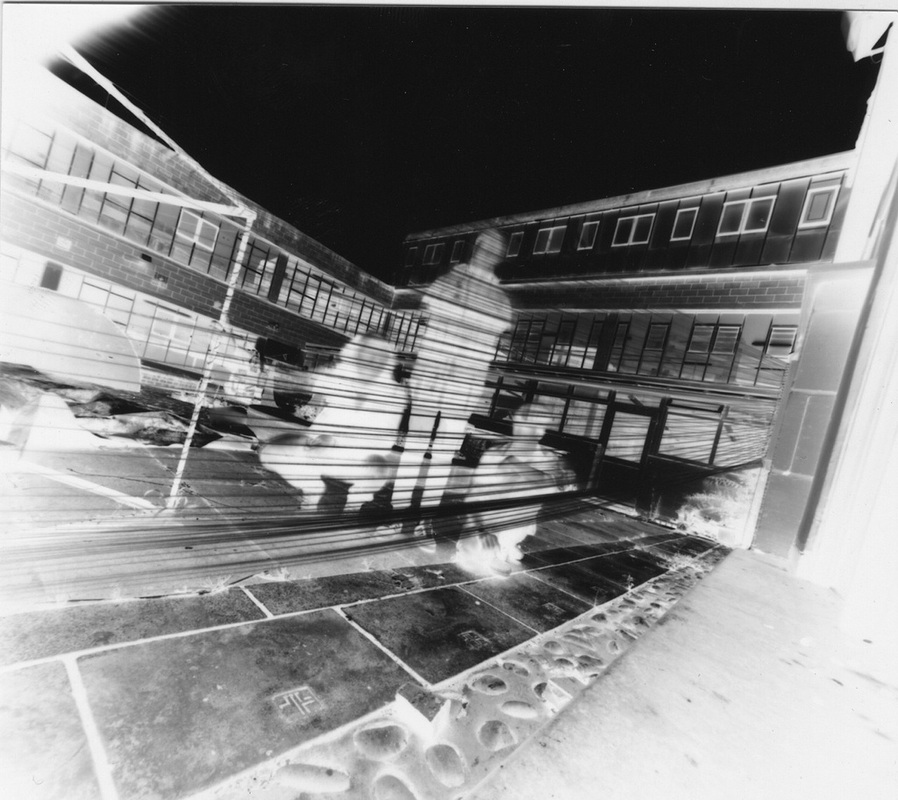
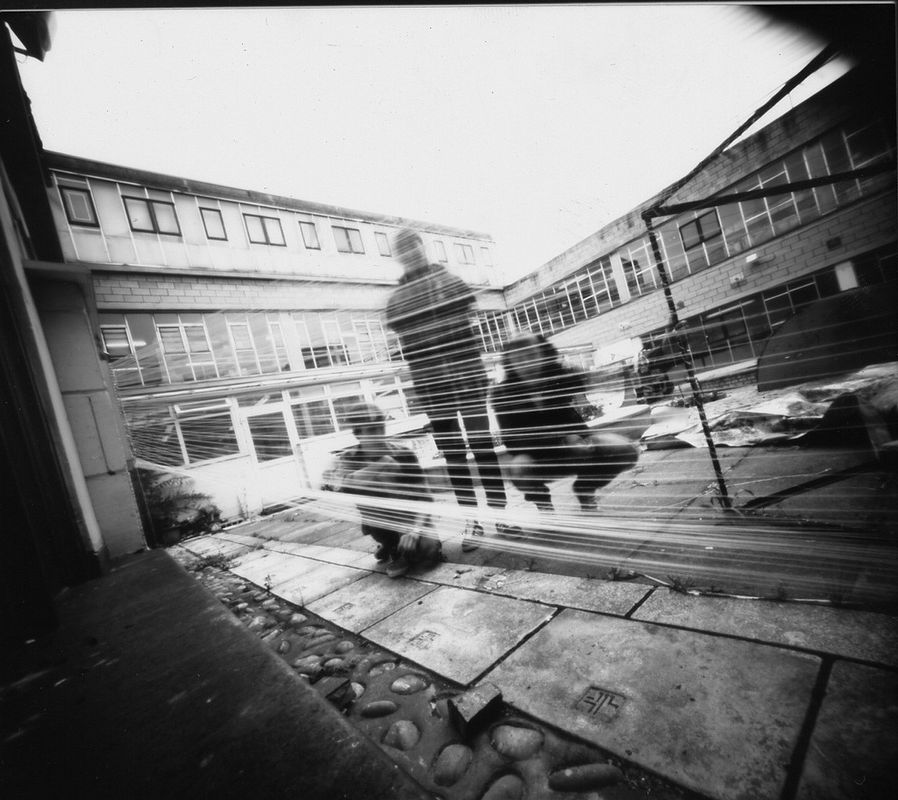
EXAMPLE #1
Negative
|
Positive
|
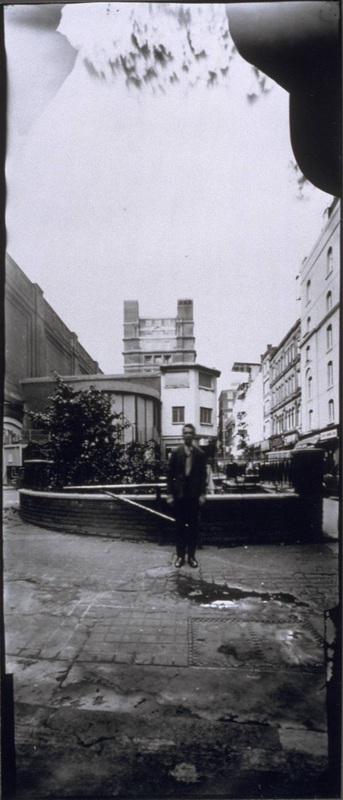
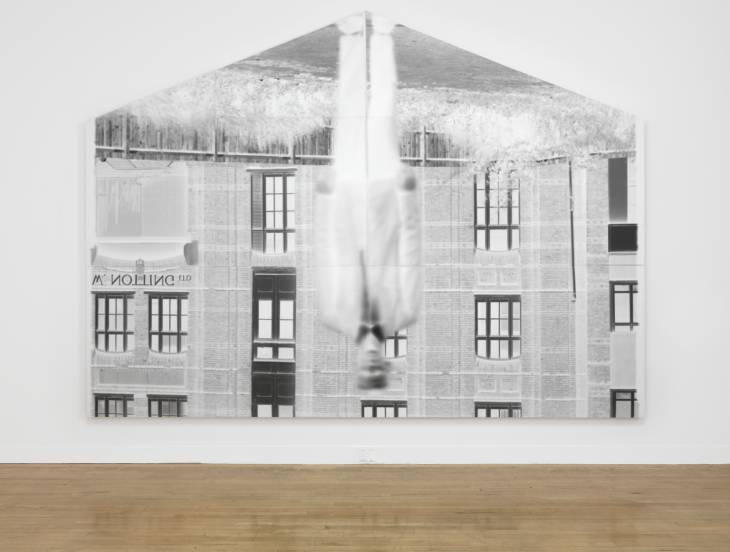
I really like the way the wide angle lens of the pinhole camera has distorted the perspective of the building in this example. Also, everything from the foreground to the background is in focus. This is because the pinhole has a very small aperture making the depth of field (things in focus) huge. The people are slightly blurry because it was hard for them to stay completely still during the exposure time of about 1 minute. This camera was made from a biscuit tin.
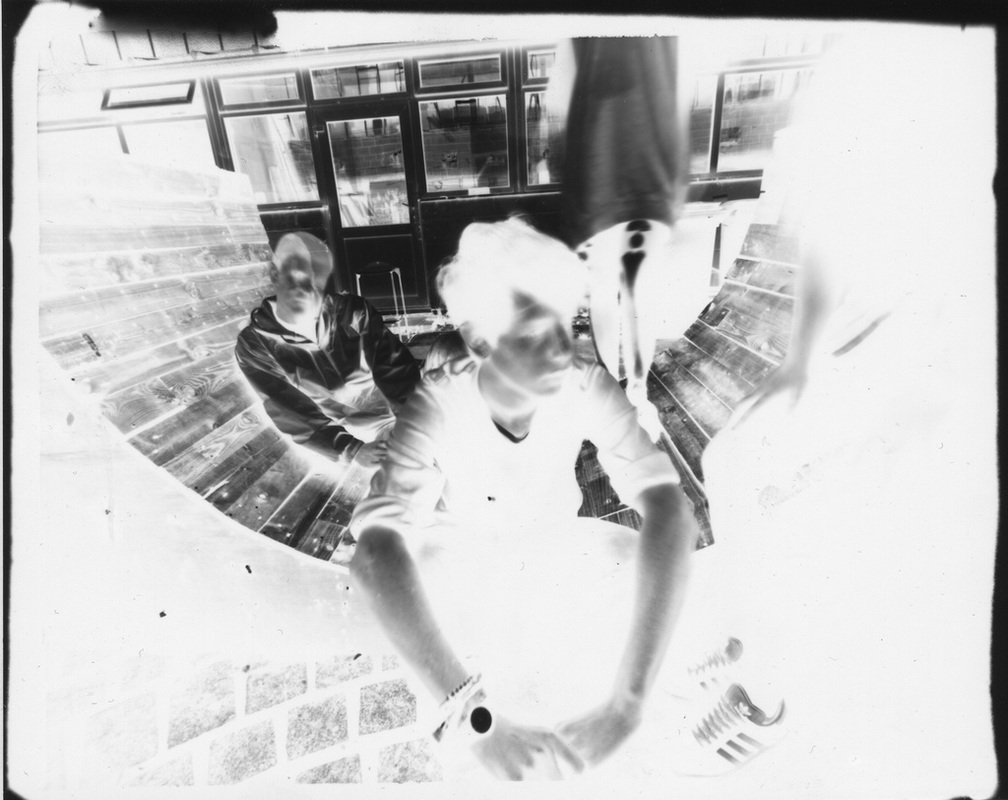
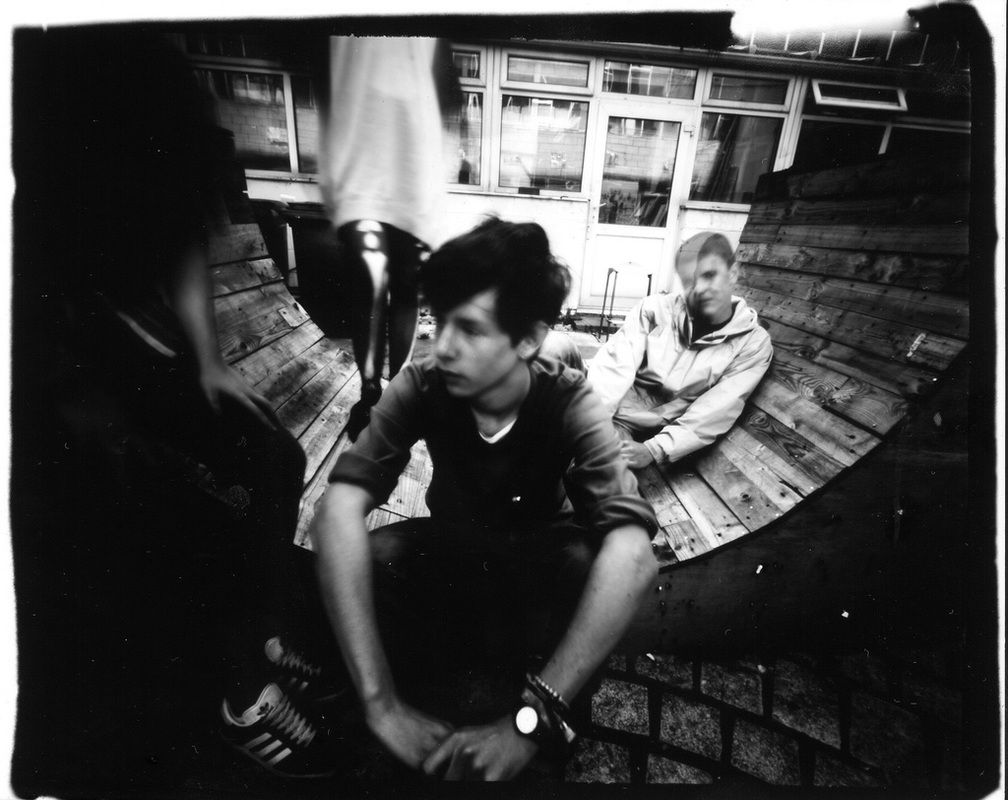
EXAMPLE #2
Negative
|
Positive
|
I decided to get a bit closer to the subject with this example. I used the school's wooden pinhole camera on a tripod. You can see that some of the figures have been cropped. It was hard to know exactly what would appear in the final image. I may have under-exposed this slightly because the image is very dark. The camera was pointing down so there was less direct light entering the pinhole. If I repeated this, I would increase the exposure time slightly.
